Locations View
Overview
The Locations page provides customers with a centralized view of all service locations associated with their account.
This page is designed to help customers manage and maintain accurate location information used for service requests and project coordination. Customers can view location details and make updates as needed, including editing existing locations or deleting locations that are no longer active.
Accessing the Locations View
You can access the Locations view either by hovering over the navigation bar on the left side of the screen and click Locations or press Ctrl + K and click View Locations in the menu that is displayed.
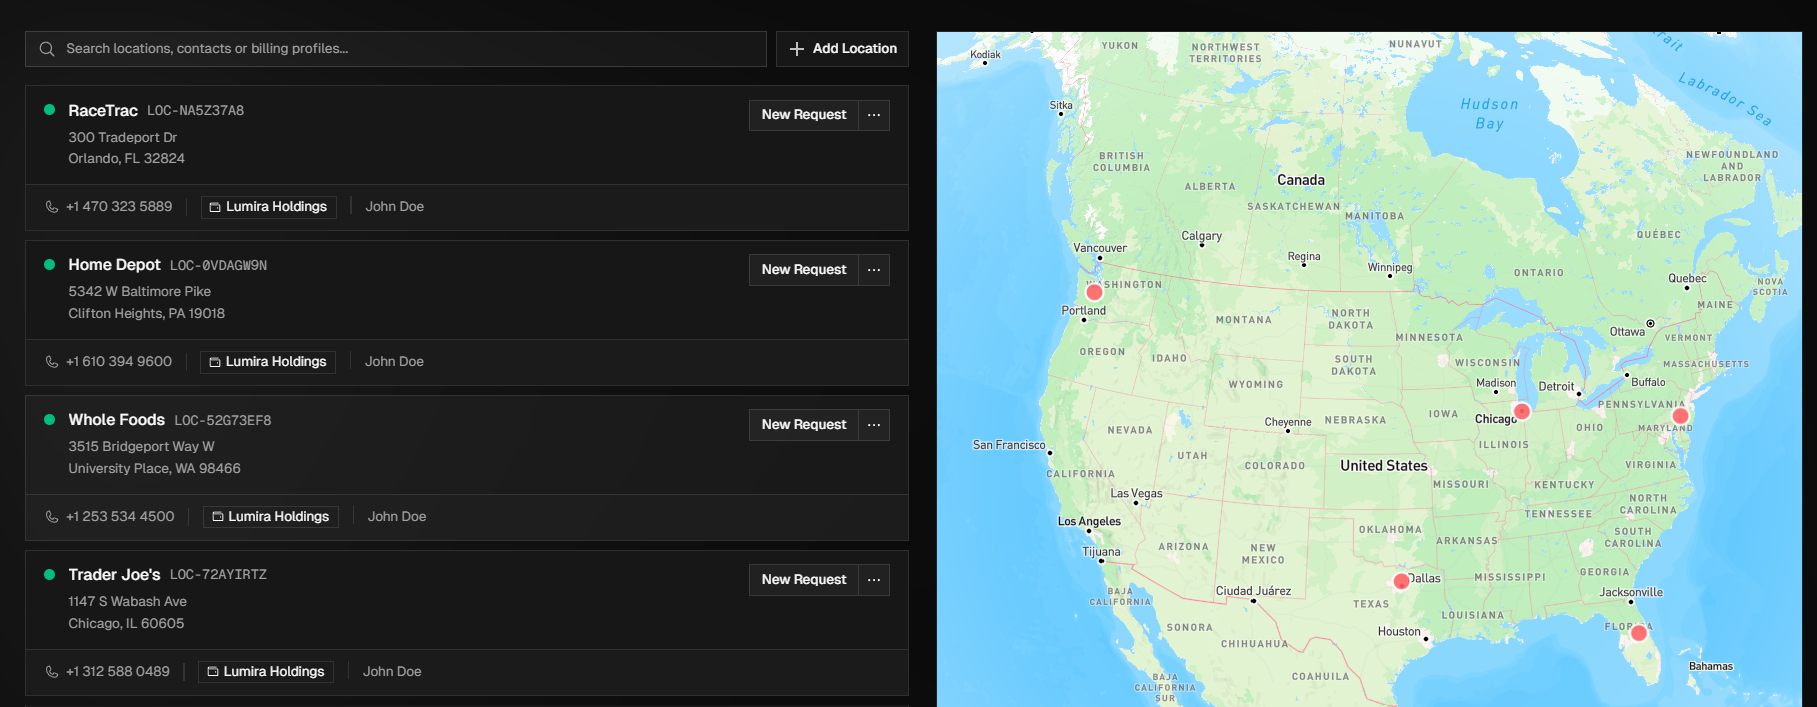
This page allows you to view and manage your locations using either a detailed list or an interactive map, with both views supporting service request creation. The List View displays all locations with key details such as Location ID, address, phone number, and billing profile, while the Map View provides a visual representation of locations, using red pins for individual locations and blue pins to indicate grouped locations in the same area.
Searching Locations
The list of locations can be searched by:
Location Name
Location ID (LOC-XXXXXXX)
Location Address
Creating New Locations
To add a new location to your account you can do so by either navigating to the Locations module and click + Add Location or when creating a new service request scroll to the bottom of the list of current locations and click + Add New Location.
How to Enter a New Location
Step 1 - Location Details: Enter the locations basic information including the location name, phone number, and physical address (start typing the address in Address 1, select the correct address from the suggested ones, and the remaining address fields will be updated automatically. Then, click Next.
Step 2 - Site ID & Billing: Assign your internal site ID (optional), Point of Contact (POC), and Billing Profile to the location. Then, click Next.
Step 3 - Notes (Optional): Enter any important notes about this location including Access Instructions (i.,e., Gate code, parking restrictions, etc.), Special Instructions (include any restrictions or requirements), and Safety Notes. Then, click Create Location.