General
Overview
The General page provides customers with a centralized view of key organizational details associated with their account. This page is designed to display company-level information used across the platform for account management, service coordination, and communication purposes. This page serves as the primary reference point for reviewing and managing company-level details within the portal.
To access the General page hover over the navigation menu on the left side of the screen, click Settings towards the bottom, and the landing page will be the General page.
General Page Features
This section allows you to manage core company details used across the platform. You can upload your company logo, and define your company name, which is visible to service providers and internal users. The company slug is an auto-generated internal identifier and should generally not be modified. You can also set your company address, which represents your headquarters location.
Additionally, you can configure departments—such as Maintenance or Operations—to help organize service requests and support reporting, as well as define common requirements that apply to requests, like recycling instructions or special handling notes.
Editing General Company Information
Company Logo - Click the circle that contains the initials of your company in it and choose a photo from your computer to add to your profile.
Company Name/Slug - Both of these fields can be edited, but it's only recommended to do so if there is a spelling error.
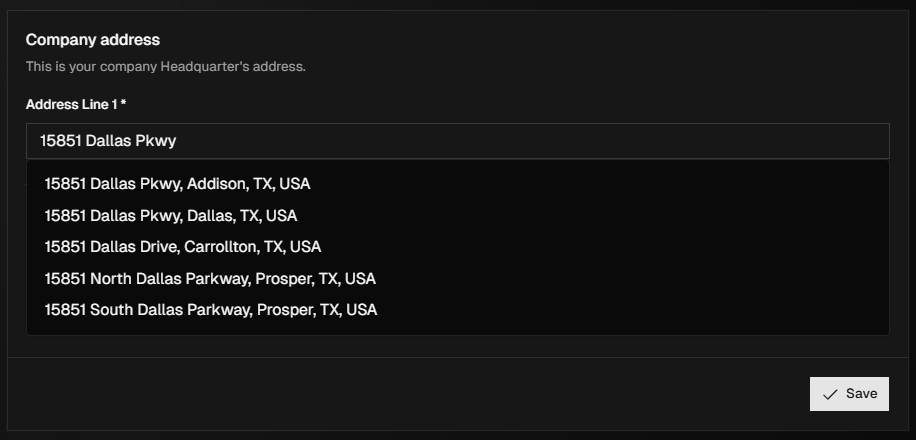
Company Address - Click the Address Line 1 field and begin typing in the headquarter address for your company. Select the correct address from the suggested ones that appear.
Departments - Click + New Department and a pop up will appear. Enter the department that needs to be included on service requests, and click Add.
This is used for reporting and to organize requests for certain users of the platform. i.e., Maintenance, Operations, etc.
Requirements - Click + New Requirement and a pop up with appear. Enter the new requirement and click Add.
You can then use these departments and requirements to assign to whichever service requests need them.